Appendix B: Display Options
The SCE has several display options that can allow for a clearer view of the connections between PACs based on preference.
Connection Stubbing
The connection stubbing feature displays PAC connections as stubs. A stub is a short line terminating with a circle that contains the number of the connection’s destination PAC. When PAC connections overlap, stubs can more clearly identify where a PAC connection terminates.
The following image shows an example of connection stubbing:
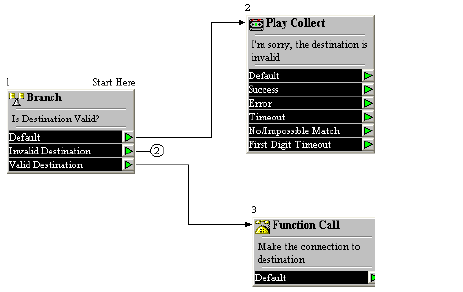
Stubbing a Single Connection
To stub a single connection from a result on one PAC to another PAC, right-click on the line that represents the connection and click Toggle Connection State.
Use the same procedure to change a stubbed connection back to a full line.
Stubbing Multiple Connections
To stub multiple connections, select the lines that represent the connections by clicking the lines while holding down the [Ctrl] key. Then click .
Click to change multiple stubbed connections back to full lines.
Stubbing All Connections for a PAC
To stub all incoming or outgoing connections for a particular PAC, right-click the PAC, click Stub, and then click Incoming Connections, Outgoing Connections, or both.
Right-click the PAC and click Unstub to change stubbed connections back to full lines.
Note
This display option only affects existing connections. Any new connections made will not be automatically stubbed.
Connection Marshaling
Connection marshaling combines all lines from a particular PAC that point to a common destination PAC. This option simplifies the display and allows you to select all marshaled connections at once.
The following image shows an example of marshaled connections:

Enable Connection Marshaling
Click .
Click the Display Options tab.
Select the Marshal Connections checkbox.
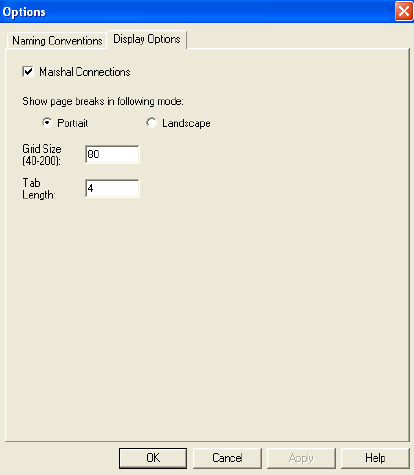
Click OK.
Grid Lines
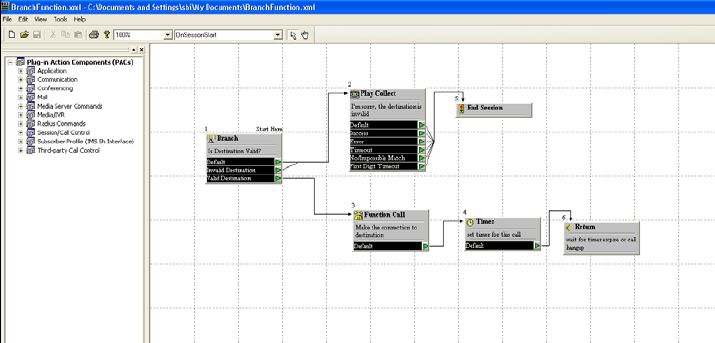
The SCE provides the option to display grid lines in the drawing pane. The snap to grid feature then allows you to quickly realign the PACs in a single function.
Show Grid Lines
To show grid lines in the drawing pane, click .
The following image shows the drawing pane with grid lines shown:
Modify Grid Size
Click .
Click the Display Options tab.
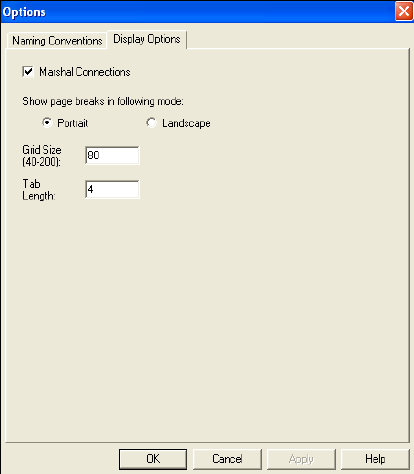
In the Grid Size field, enter the distance, in pixels, between grid lines.
Click Apply.
Click OK.
Align PACs with Grid Lines
Select the PACs that you want to snap to the grid.
Tip
To select all PACs, click .
Click .
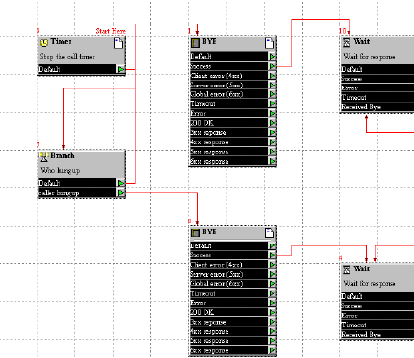
The following image shows the drawing pane with PACs left-aligned with the shown grid lines.
Text Boxes
The SCE allows you to document your functions using text boxes.
Create a Text Box
Right-click in the drawing pane and click Add Text.
Click Click to add text. A text box appears.
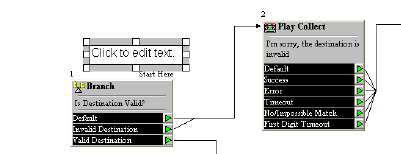
Type any needed text to describe the function.
Tip
To delete a text box, select it and then click Delete. To move a text box, drag it to a new location in the drawing pane.