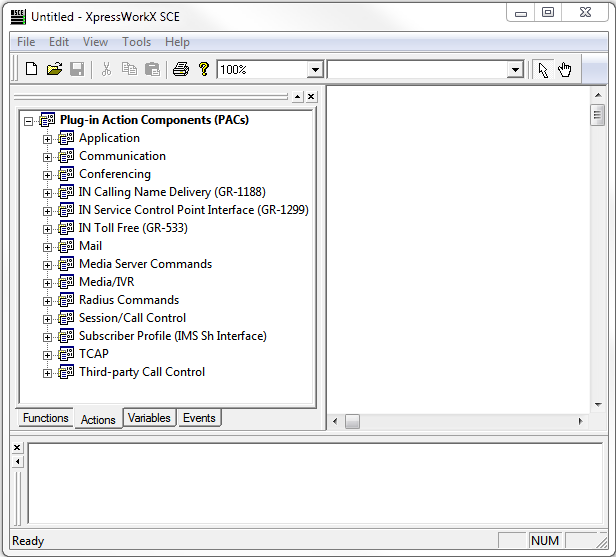
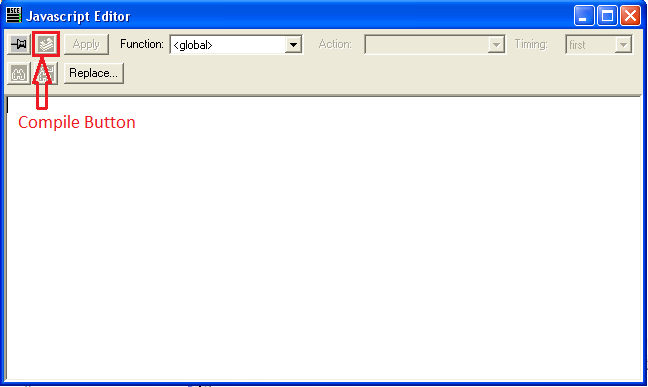
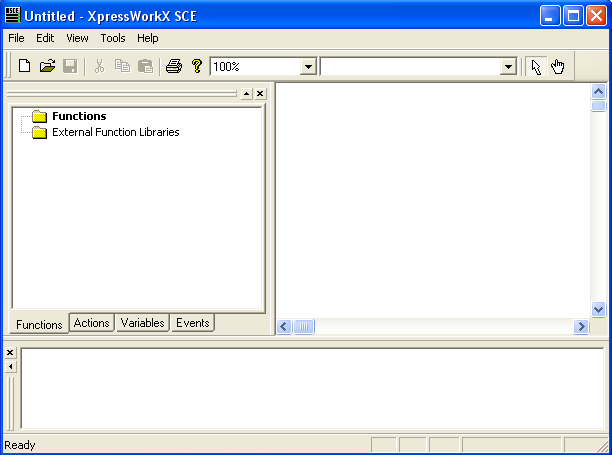
The Service Creation Environment (SCE) is an industry-leading visual service development environment that enables developers to build sophisticated Next Generation Network applications using drag-and-drop Plug-in Action Components (PACs) to enable a variety of built-in operations and link them in a visual call flow using the graphical user interface. This simple, intuitive interface makes applications faster to develop, customize, and modify to meet changing market needs.
This guide is intended for application developers who use the SCE to build applications for Internet Protocol Multimedia Subsystem (IMS) and Voice Over IP (VoIP) networks, as well as applications for Intelligent Networks (IN).
This guide introduces the SCE components and functionality and provides detailed information about building applications by defining variables, creating functions, adding JavaScript, and integrating Java. Instructions for creating specific types of applications and a detailed description of the PACs are also included.
SCE Features
Applications built with the SCE are translated into Extensible Telephony Markup Language (XTML) which can then be provisioned to an Application Server or a web server.
If provisioned to an application server, the application is executed locally. If provisioned to a web server, the application can be retrieved and executed by multiple application servers using Hyper Text Transfer Protocol (HTTP).
The SCE includes the following features:
flow chart interface that facilitates the creation of applications using drag and drop
modular approach to creating complex applications using building blocks of function libraries that can be shared across applications
definition of variables to maintain state information during the execution of the applications
ability to create and attach JavaScript code with auto-complete on common objects
error checking to validate an application for completeness and correctness
transfer of XTML applications to an application server or web server from within the SCE
flexible architecture that allows additional components to be created and distributed by third party developers
Development Components
The SCE has the following components:
In general, a series of connected PACs make up a function which executes in response to an event, and several functions constitute an application or service.
Events
All service logic in an application is performed in response to the occurrence of an event. Every event has a name that describes the type of event. Events can also have parameters that carry information associated with the event. For example, the various header fields in a SIP message are provided as event parameters. Applications have access to these parameters in the form of variables.
Note
Event definitions include an internal name and a display name. The display name is displayed in the SCE, and the internal name is used to match events to handlers. By convention, and to prevent name duplication, internal names are usually in the format Vendor.EventName.Version.
Functions
Functions in the SCE are conceptually similar to functions in traditional programming languages. They are called by name, take zero or more parameters, and can return a value.
A function is a series of connected PACs or actions. Parameters are passed to a function by value or by reference. An application returns from a function when it encounters the Return PAC.
With the SCE, you can build event handlers and called functions. An event handler is carried out in response to a specific event, and a called function is called by another function through the Call a Function PAC.
Called functions are useful when you have a common set of actions to be used throughout your application. Instead of adding the set of actions individually to each area in the application, you can create one called function and then call it from the appropriate areas.
For more information, see Building Applications.
Plug-In Action Components (PAC)
PACs are the building blocks of a function and each one performs a specific action.
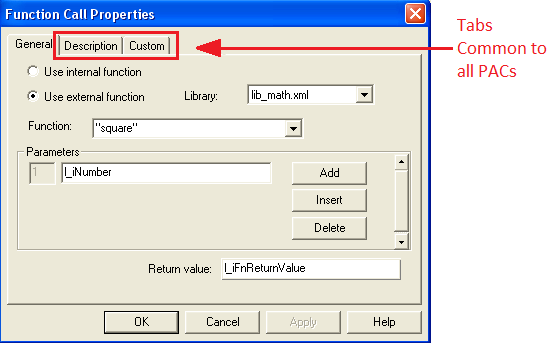
Each PAC has an associated properties window that can be configured based on application. The tabs available in the properties window vary for the individual PACs, but all
PACs have a Description tab and a Custom tab.
Results
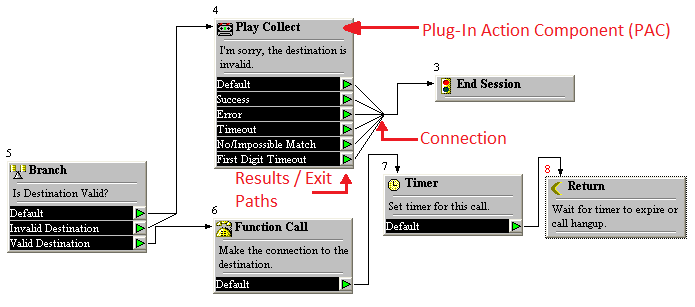
Each PAC includes a list of possible results. The result returned when the action is executed determines which PAC will be executed next in the function.
The following image provides a sample display of PACs connected to create a function and displayed in the SCE drawing pane.
Variables
Applications use variables to maintain state information. The following types of variables are available:
string
short
int (integer)
long
float
Boolean
object
SipDialog
SipDialogArray
MediaEndpoint
MediaEndpointArray
Conference
ConferenceArray
SipMessage
Variables can have one of the following scopes:
Function (local) variables can be referenced only from within the function where they are defined.
Global variables can be referenced from any function in the application, and each application session has its own copy of the variables.
Shared variables can be referenced from any function in the application, and all application sessions share a single copy of the variables.
The SCE allows you to specify a set of naming conventions to identify variable type and scope to streamline development.
Applications
An application is the XTML document created when the set of event handlers and functions that constitute a service is saved. That XTML document is then transferred to the application server or web server. An application can be contained in a single XTML document, or it can call functions that reside in other XTML documents.
Warning
Applications must always be created and edited in the SCE drawing pane. Do not make changes to an application in the XTML document.
A session is a single instance of a running application. One XTML application can support many sessions simultaneously. Each session adheres to the same call flow logic but executes independently with its own copy of the application variables (or access to shared variables) and its own path through that call flow.
To write applications using the SCE, it is important to understand how sessions are created and terminated by the Application Server. For more information, see Working with Sessions.
Install the SCE Software
To install SCE, you will need a Customer Portal account to access the software download. This download includes the files required for installation on all operating systems.
For information about setting up a Customer Portal account, contact Customer Support.
Install the SCE
During the installation process, you can click Back to return to the previous screen or Cancel to stop the installation.
Exit all applications.
Access the Customer Portal.
Log in with your Username and Password.
Click Software Downloads on the portal’s main menu and download the SCE installer file.
Click the downloaded .msi installer file to begin the installation.

Click Next.
Select the checkbox to accept the End-User License Agreement and click Next.

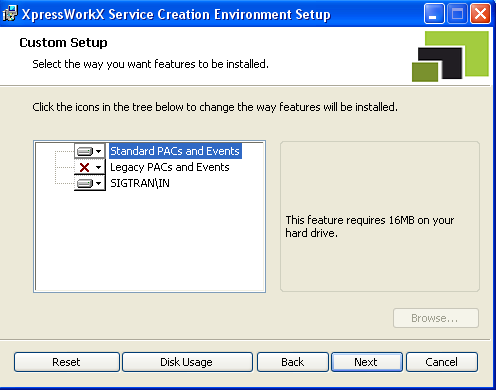
Click the appropriate icons to select the groups of PACs to install and click Next.
Note
Do not install the Legacy PACS and Events unless there is a specific provision in your support agreement.
Tip
Click Disk Usage to review the available disk space, or click Reset to return to the default selections.
Click Install.
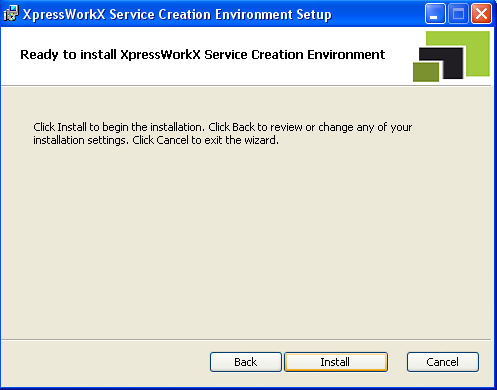
A status bar will show the progress of the installation.
When the installation is complete, click Finish.
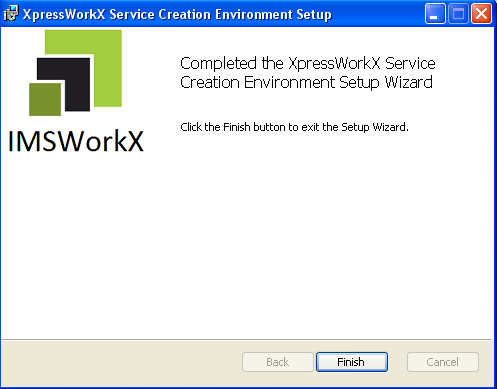
The SCE shortcut will now be available on your computer desktop.
